Starting to build up: Installing the first steel beam, floor joists and sheathing
Mid-January brought the beginning of some major visible progress!
After finishing up the foundation, Kelsey finished up the sill plate by securing the J bolts around the perimeter of the foundation. Then, while the excavators were still on site, they helped us lower the first steel beams into the crawl space.
Kelsey built temporary supports for the beams so we could ensure everything was level before the final welded columns were placed. After 2 days of fiddling with a jack, lots of levels and shiming everything, our welder came with 3 manufactured columns to sit on the helical piers/concrete caps. Then, our pro welder welded the two beams together with 3 plates, two on the webbing of the beams and one on the bottom flanges, then the 3 columns were welded to the beams and bolted down to the concrete caps, finally we installed web stiffeners on the steel beam above the columns for extra support. Whew.
Temporary supports in place! We purchased some cheap concrete blocks and got free pallets from Lowe’s!
So many levels! This step was crucial as we need to have a level floor!
Finished column with the web stiffener above on the beam. Later, we used epoxy and long bolts to attach to the concrete caps.
Kelsey took a break from monkeying around with getting the beam in the right spot, and finished the dimensions for the SIP panels. He used CAD to create drawings to share with our manufacturer that illustrates where all the windows go and the sizes for each wall and the roof. We’re in the process of finalizing that order and once we do, it will be about 6 weeks until they arrive on-site. In the meantime, we need to finish the sheathing and complete the framing for the interior structural wall, the fireplace wall, and place the gluman columns and beam that support the south wall, or the window wall as we affectionately call it.
Ok...back to the steel beam. After the beam was fully secured, we installed a nailer on the top of the beam for a place to secure the floor joists.
While all this was happening, we were also in the process of getting temporary power on-site. Pro tip...start really early on this one! We had the initial start of this process going at the beginning of December! At this point, we’re waiting on Xcel to run some wires to the top of our pole and then we’ll be in much better shape to use the plug-in power tools, rather than all battery operated stuff.
Then, we were off and running with the floor joists! But, first...more shoveling. Our goal was to have the snow as clear as possible before the joists and sheathing were in place. As hard as the shoveling is, it would be even harder to do it with only 4 feet of head clearance!
We placed a few joists, but then it was time to install the crawl space scuttle. We’ll have access to the crawl space from the utility room, which is on the northwest corner of the house. The scuttle is 30”x36”. We doubled up the outside joist and used the same joist material to make a header that surrounds the opening. We’ll have a flush hatch that we’ll be able to easily take out when we need to access items from the crawl space.
First floor joists going in!
View of the crawl space scuttle looking to the east.
Top view of the scuttle. We’ll install a permanent ladder to make it easy to get in and out.
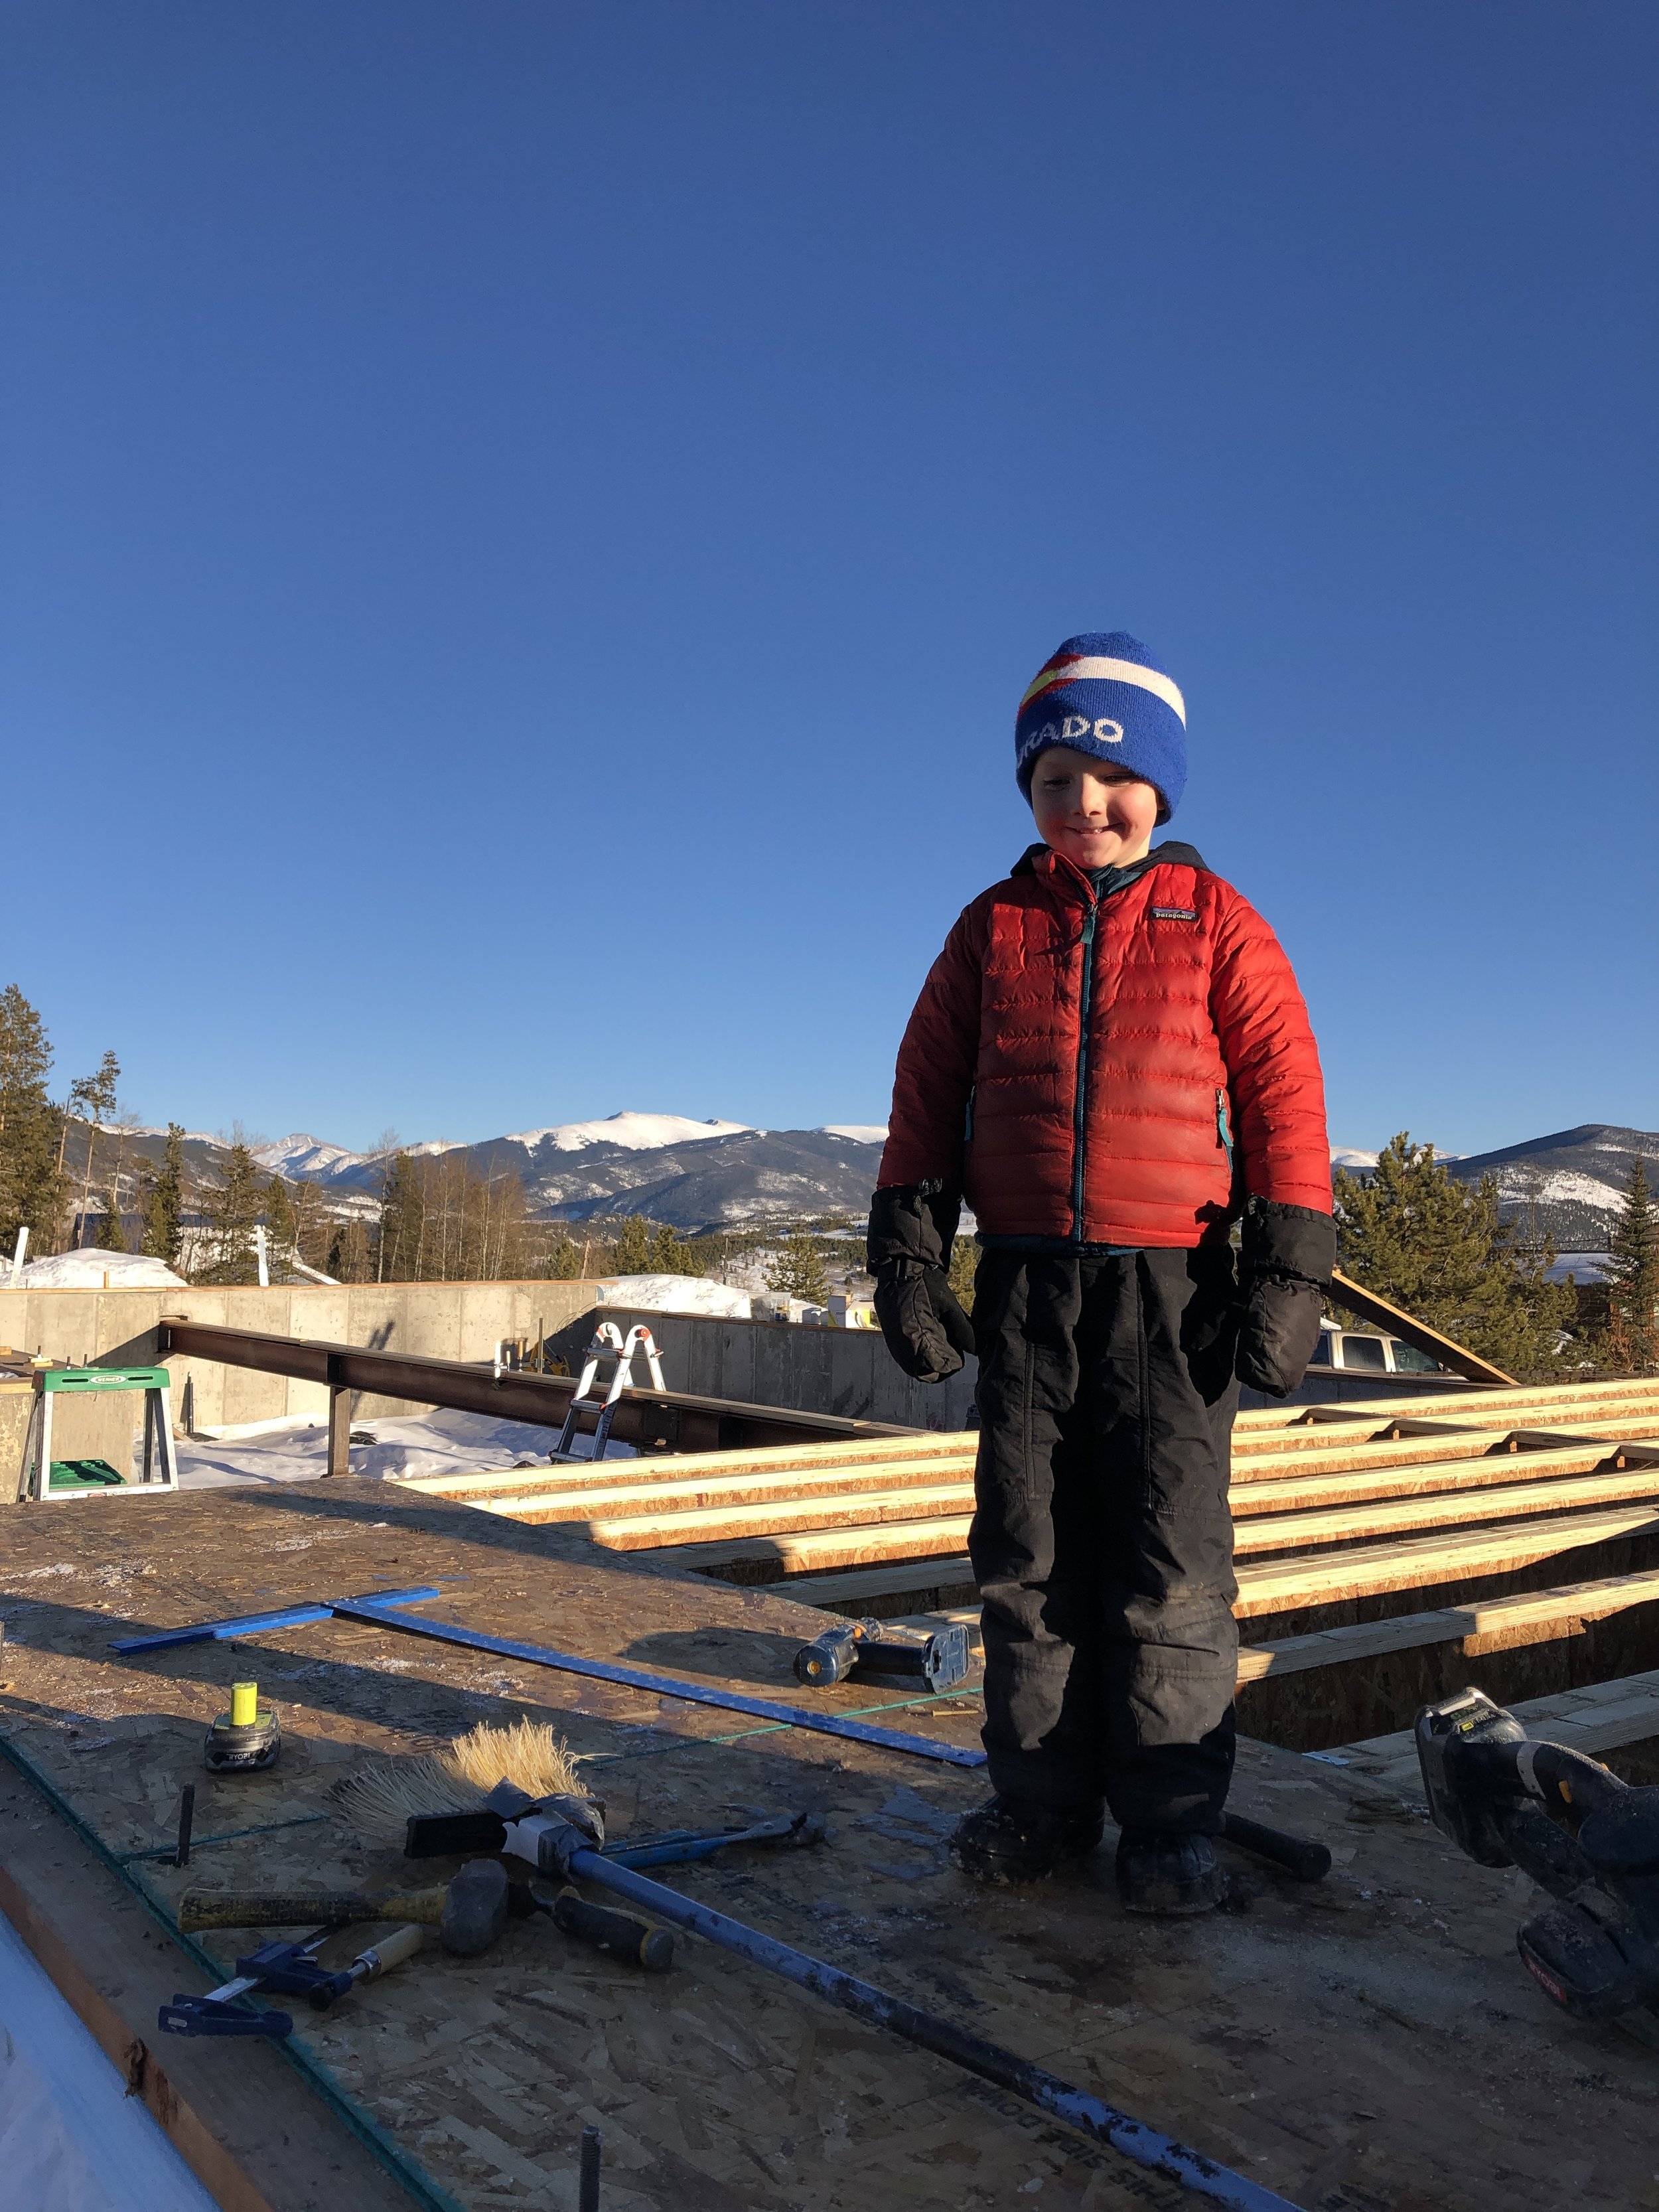
Looking to the southeast. It’s starting to get a lot easier to visualize what our view will be! And - look at this cutie! He has so much fun on site!
Kelsey and my dad, Neil, working on February 1.
Laird is learning from the best!
We celebrated Corbin’s 3rd birthday on February 2 and were lucky to have Kelsey’s dad, Dave, and his partner, Margaret, in town that weekend to celebrate! Aunt Ashlee also came up from Boulder. We enjoyed a fun “skier boy” birthday party on Saturday night and lots of family work time at the property on Saturday and Sunday! The girls even got most of the snow cleared from the crawl space (well, until it snowed again today!)
Happy Birthday, Corbin!
Skier boy party on February 2!
Huge ice/snow chunks to remove. It’s not a very easy job getting everything over the foundation wall!
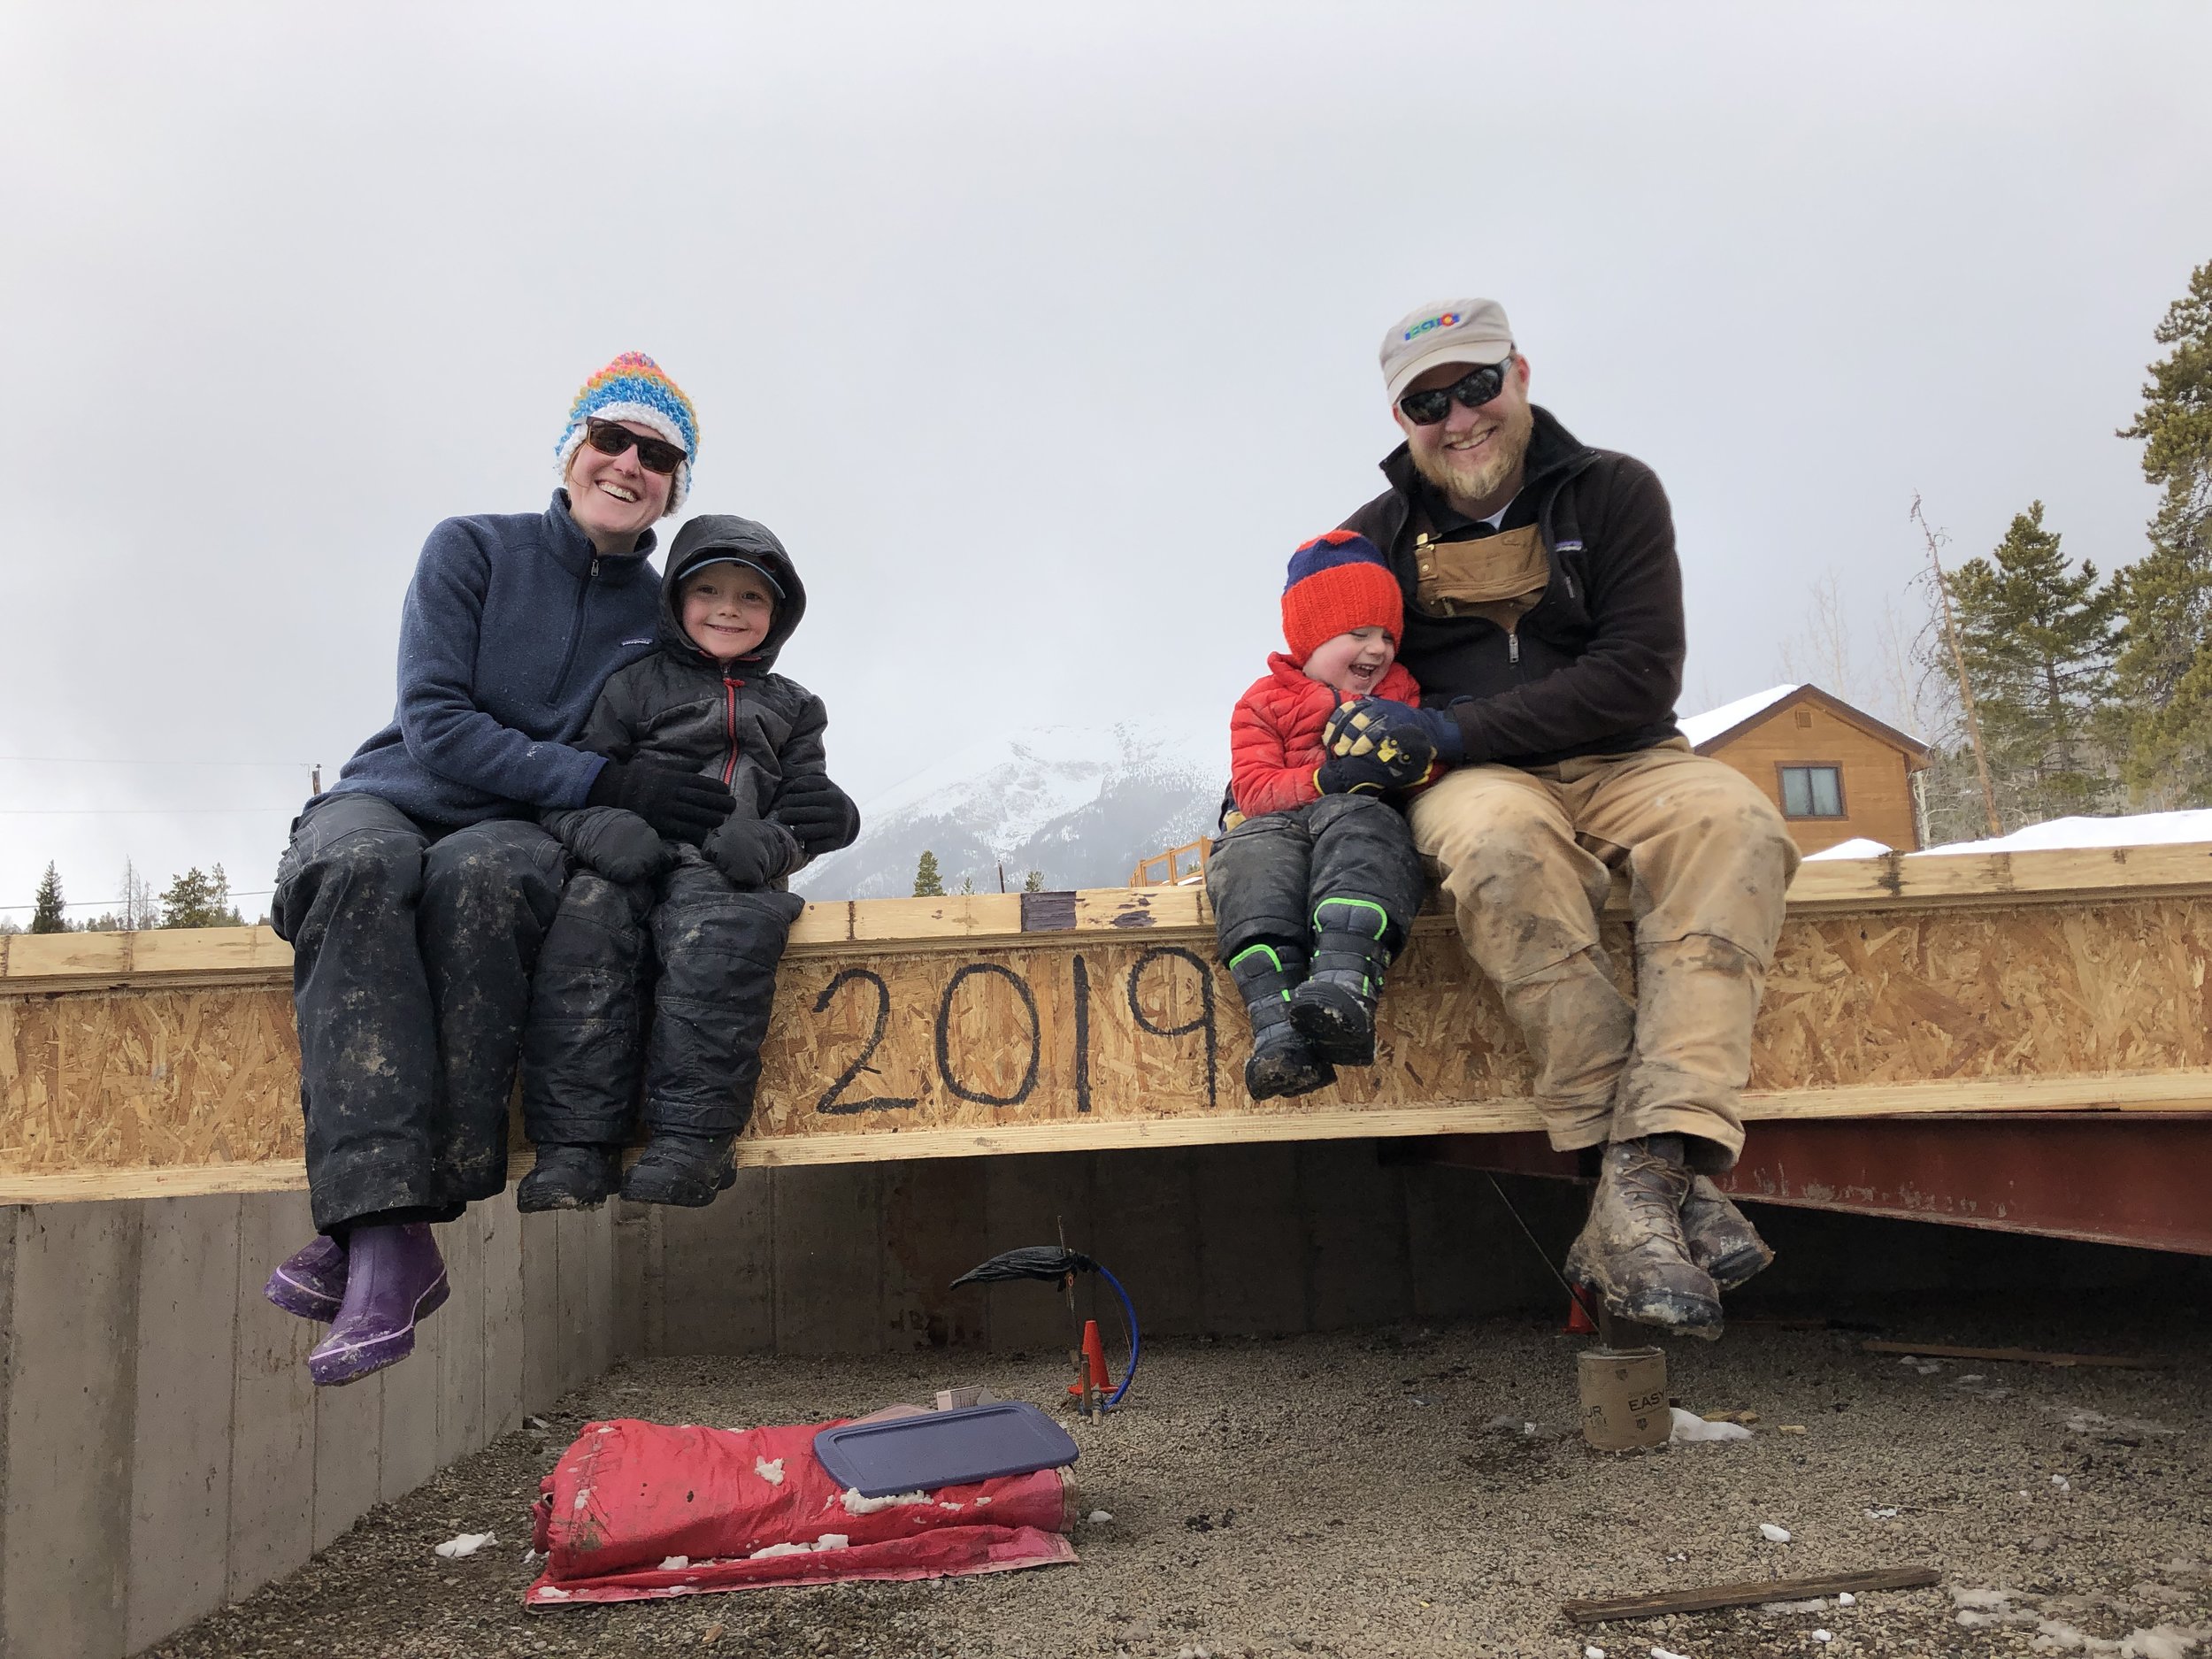
Beyond thankful for this whole crew!
Our guess is that we’ll have all the sheathing installed in a week or so. Before we can finish marching across, we need to get an LVL beam (laminated veneer lumber - basically a bunch of long thin pieces glued together) to place under the structural wall, which separates the main living space with the two bedrooms on the east side of the house.
I’m certainly looking forward to the day when we can just shovel snow off the sheathing, rather than shoveling everything out from the crawl space! We’re getting there day by day!
If you ever want to come work at the property (we promise, we won’t make you shovel too much), let us know. We love having extra hands and we always supply donuts to our happy helpers!
Happy Trails,
Cory


